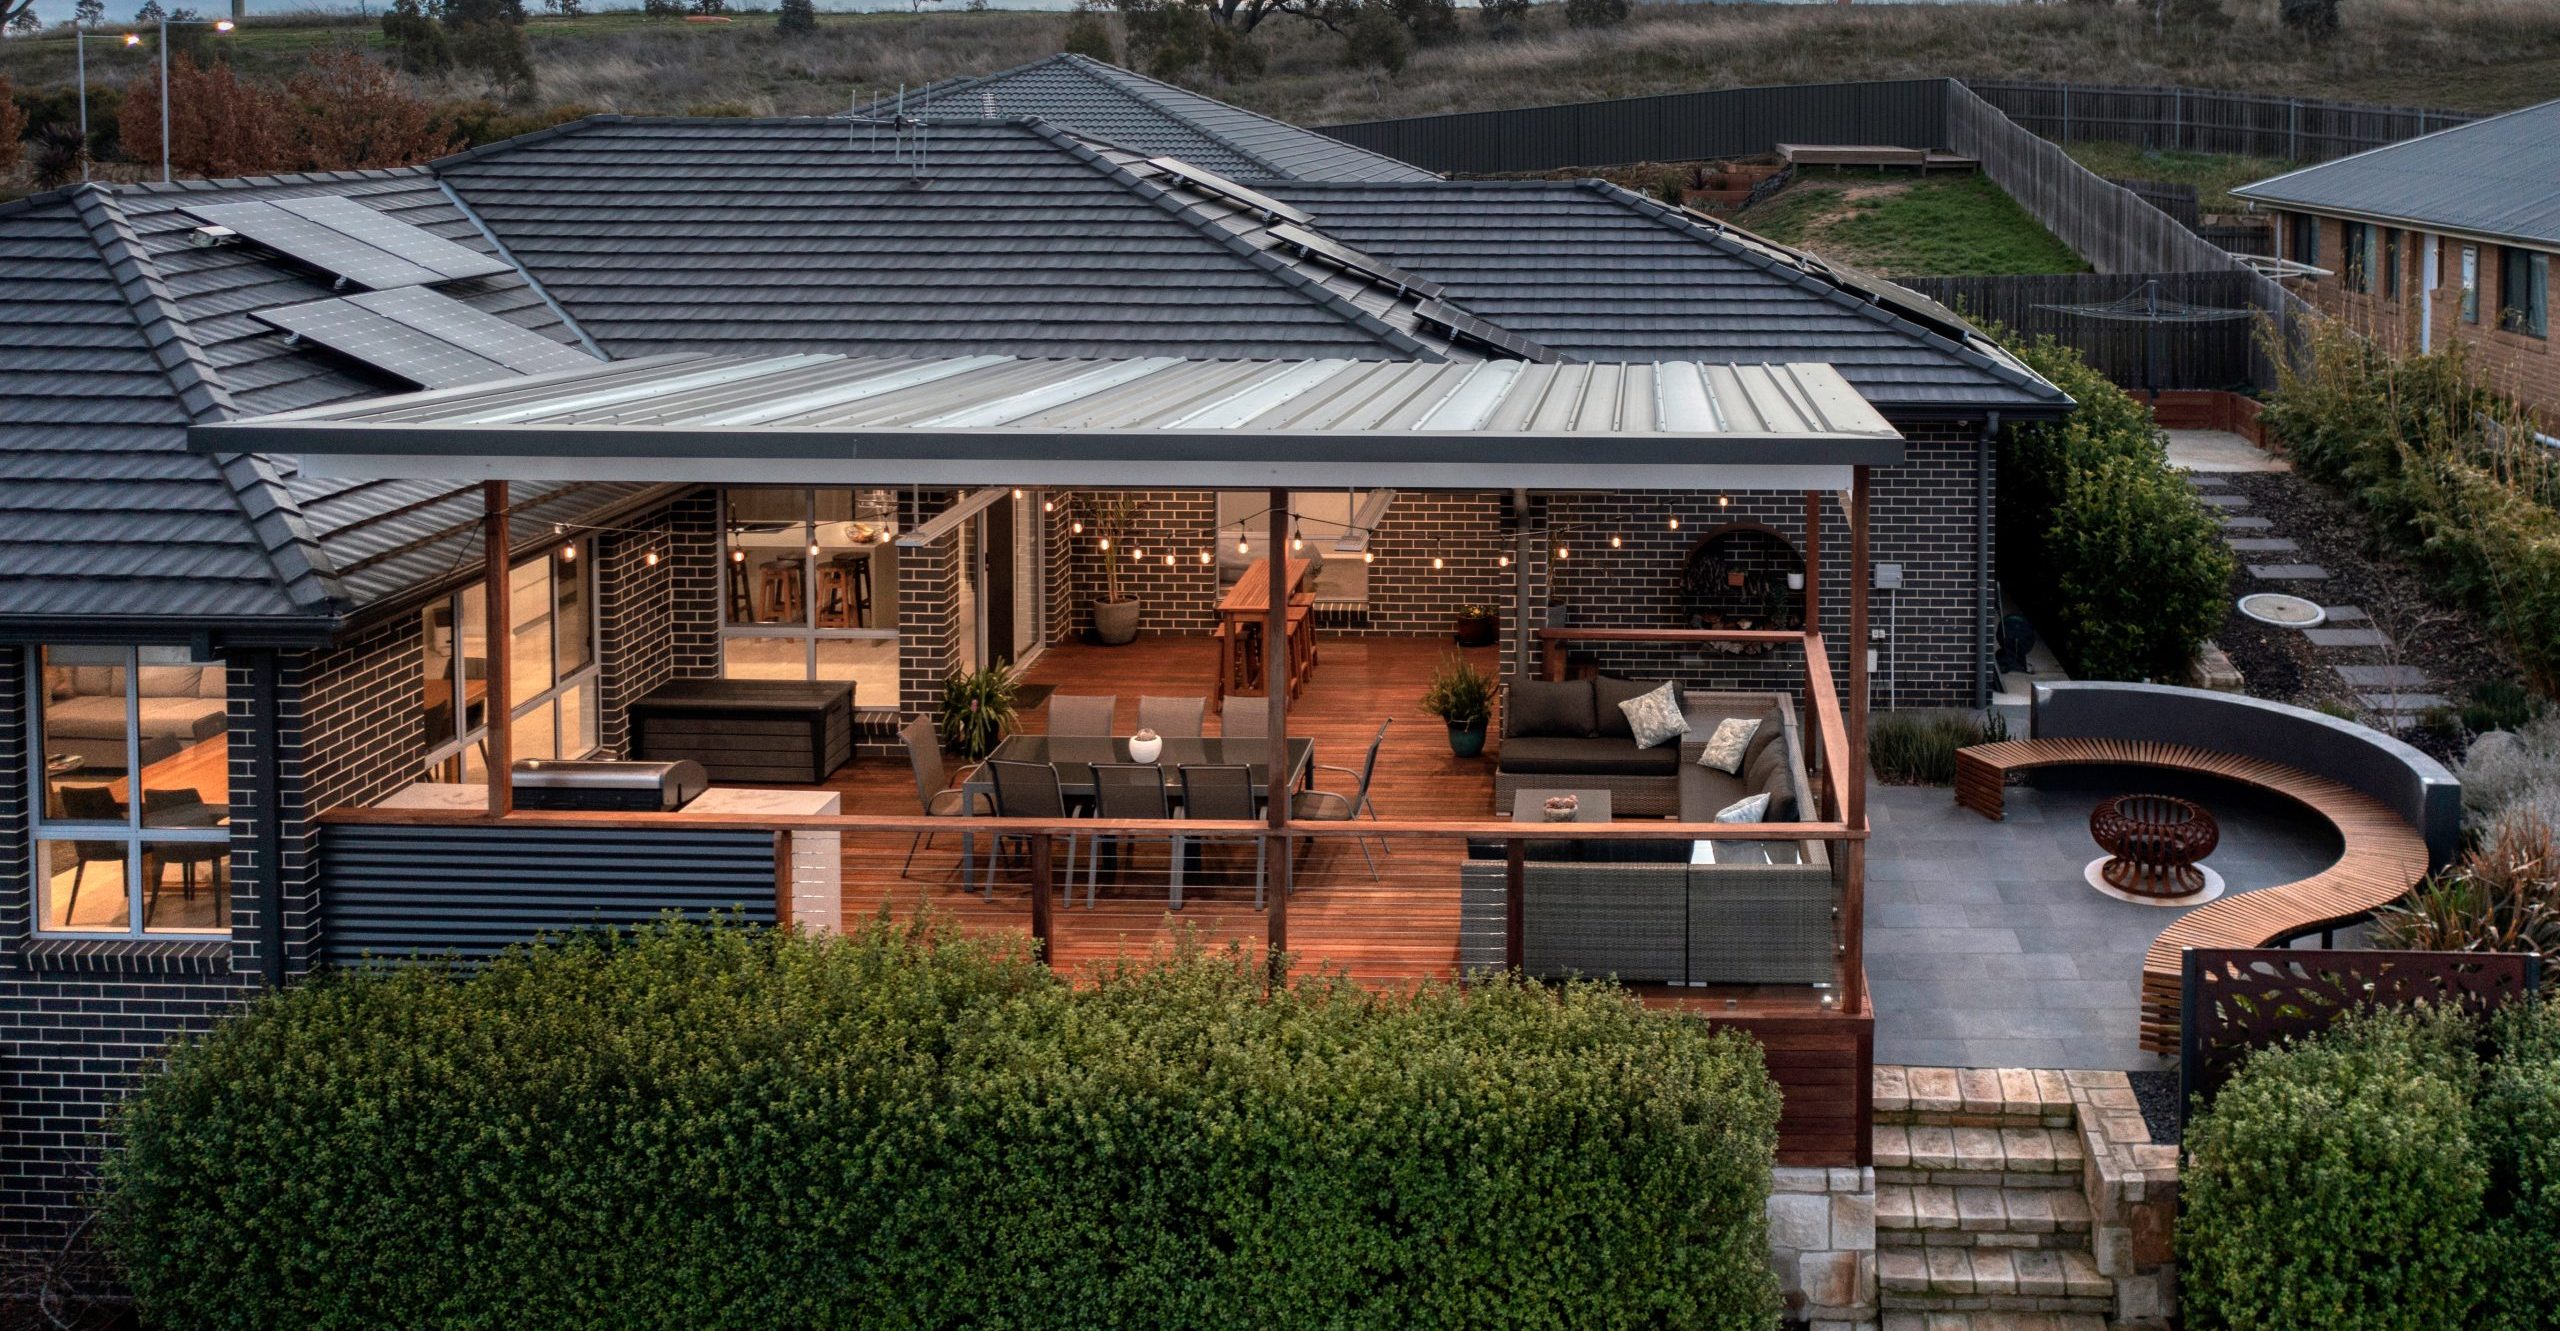
Having a patio in your home can be a great investment. Not only does it add value to the property, but it also provides the perfect space to enjoy the outdoors without being completely exposed to the elements. However, with Australia’s harsh conditions, spending time in your patio can become incredibly uncomfortable.
During the high seasons of summer and winter, the patio area can become unbearably hot or uncomfortably cold and wet. Insulating your patio ensures that you’re protected from the heat of an Aussie summer and kept cosy during the cooler winter months.
Ceilink panels offer an insulating solution with a quick and easy installation along with several other benefits.
The Benefits of Insulating Your Patio with Ceilink
When insulating your patio, your options are either the traditional method of timber battening or Ceilink panels which are insulated panels. When comparing the two methods, Ceilink offers several benefits over the alternative.
Comfortable Temperatures
Ceilink panels consist of sandwiched materials that offer the same level of insulation as traditional insulation methods. These panels work to improve thermal comfort all year round by blocking heat from penetrating the ceiling on hot days, but also trapping the heat within on cold days. This ensures comfortable temperatures regardless of the weather.
Easy Installation
The traditional battening method of insulation requires several different materials, a number of tools and approximately three days’ worth of work. However, Ceilink panels are lightweight and can be easily installed in a matter of hours with your average household
tools.
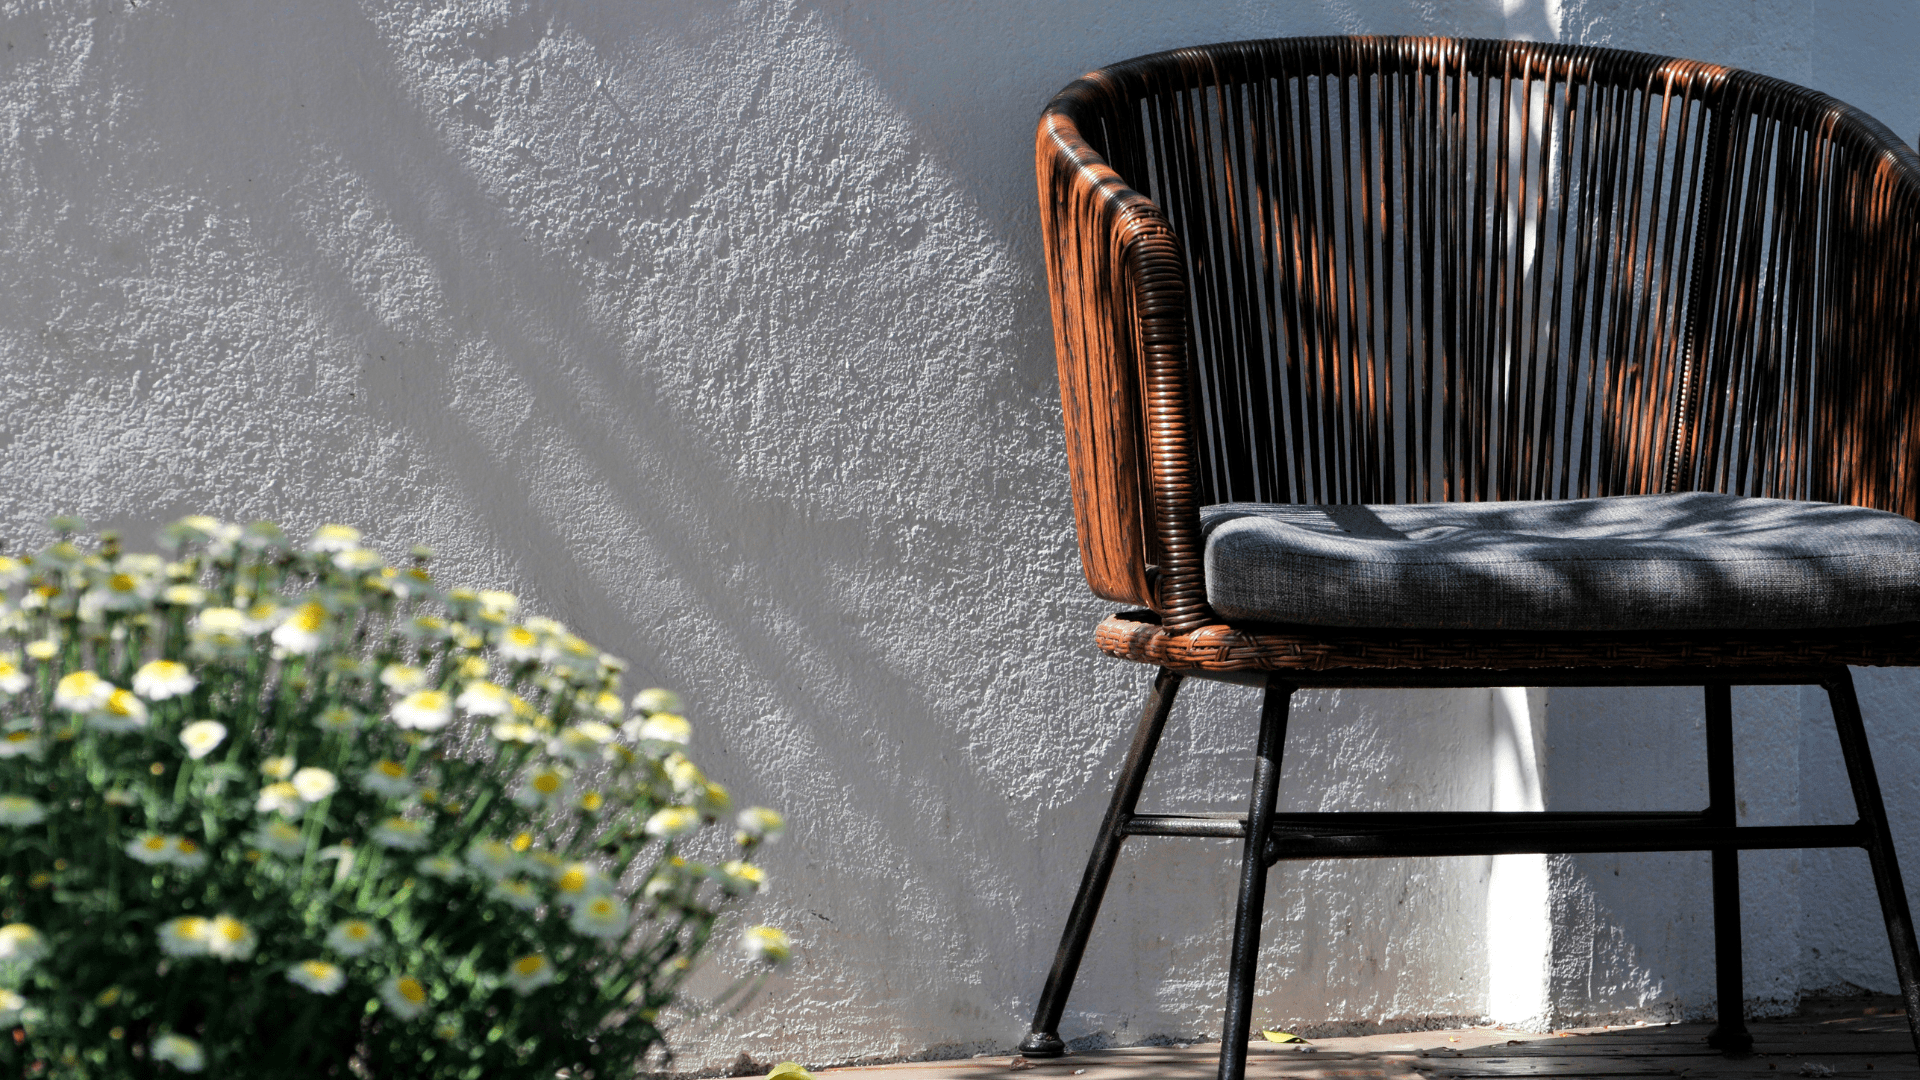
Sleek Appearance
When it comes to DIY projects, you often have to choose between what’s convenient and what’s beautiful; with Ceilink you’re spoiled with both. Ceilink panels offer all the benefits of easy installation while still ensuring a sleek and refined finish. The panels come in a crisp pearl white and several finishes. The embossed and smooth finishes provide a traditional look while the luxline and micraline finishes lend to a modern and minimalistic design.
How to Insulate Your Patio – With Ceilink
We’ve mentioned how easy it is to install Ceilink panels, but we haven’t explained what makes it so simple. So, let’s take a look at the steps involved to see how the design of the panels makes insulation a breeze.
Preparation
Before ordering your Ceilink panels, it’s important to measure your space to find out how many panels you’ll need. The way that you measure your roof will depend on the type of structure, whether it is a flat/skillion or gable roof.
For a flat/skillion roof the panels will fit across the shortest measurement while a gable roof will need to be fitted with the panels running from bottom to top.
When measuring your roof, use a tape measure to determine the length and width (in millimetres) between the support beams allowing 45mm for the perimeter supports. Then divide your shortest measurement by 900mm (the width of the Ceilink panel) to determine the number of panels needed.
Now for the fun part, choose your favourite of four finishes and make your order! You can check out the different finishes available by visiting this page.
To prepare for your project you’ll also need to ensure you’re equipped with the correct tools. While each project may differ, the primary tools needed are a drill and circular saw. The circular saw might be needed to cut the panels to size.
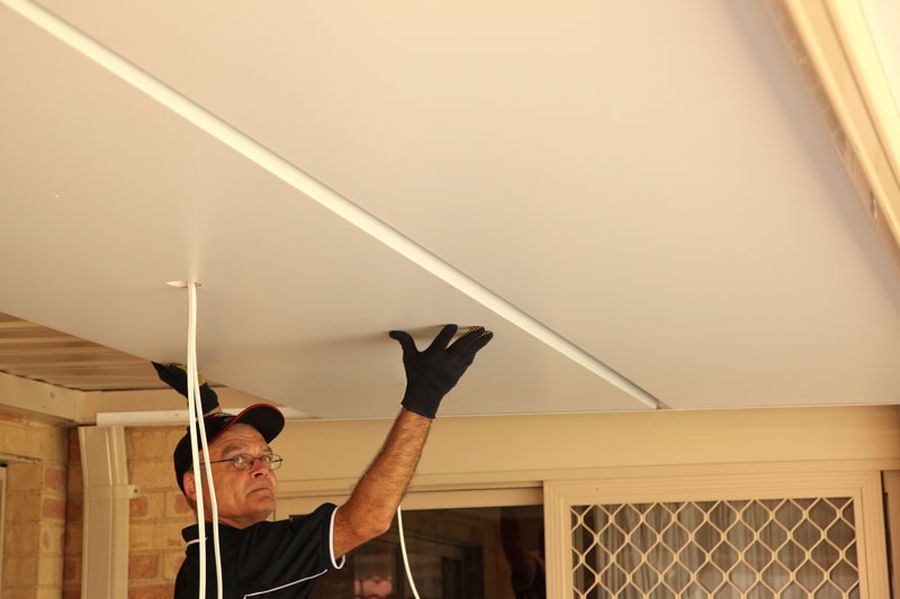
Installation
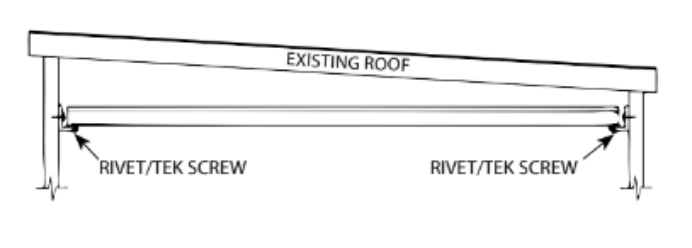
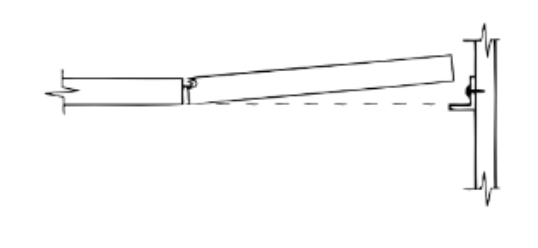
When you’re ready to install, you’ll start by securing the perimeter supports and wall angles to your existing structure. These will work as a framework for the panels to slide into and should be secured at least 60mm below the existing roof. This is important as it will allow enough room for the panels to angle in with ease.

Once you’ve secured the framework, you’ll be ready to add the Ceilink panels. However, in some cases, you’ll need to cut the panels to the correct size before fitting them in place. The panels should be approximately 45mm shorter than the internal length. When cutting the panels be sure to cut the back of the panel, with the silver side facing up, using a circular saw. Be mindful not to scratch the ceiling face.

Now for the assembly. You’ll want to start assembling the panels with the “male joint” facing outward. Lift the panels above the framework and then lower it so that it sits evenly on each angle. Slide the first panel to the furthest edge of the structure and secure it to the wall angle in each corner. Continue the same process with the following panels making sure to secure each panel to the frame as you go.

Be careful when installing your final panel as this will need a slightly different method. Start by placing the last angle on your wall and drill the fixing points but do not secure this angle in place just yet. Next, raise your Ceilink panel into place above the framework then lift the outer side of your panel to allow space to fix your last angle. Once done, you’ll be able to lower the panel and screw it in place, and you’re done!
Conclusion
Insulating your patio doesn’t need to be a tedious job. Ceilink offers all the benefits of traditional insulation without the mess and in a fraction of the time. If you’re patio needs an upgrade, consider Ceilink for a quick, easy and stylish insulation solution.
Versiclad Insulated panels are made right here in Sydney. For more information, download our brochure or complete the below form to be put in contact with a Versiclad Preferred Installer